
Storm Clean-Up 101: Soil Samples
Posted in Gardening Tips on February 12 2013, by Sonia Uyterhoeven
Sonia Uyterhoeven is the NYBG‘s Gardener for Public Education.
 In the coming weeks, we will be discussing what to do with your garden in the aftermath of hurricanes and significant storms such as Super Storm Sandy. One task that every gardener should consider after an event that involves flooding is to get the soil tested. For coastal gardeners, the influx of salt water can potentially saturate the garden with harmful salt. Because the salinity of the soil may have changed significantly, it is worth knowing what you are working with. Further, it is important to start your gardening season with healthy soil, both for your sake and that of your plants. This week, we will look at how to take a soil sample in your garden, moving on to the problem of salt injury (saline soils) during next week’s post.
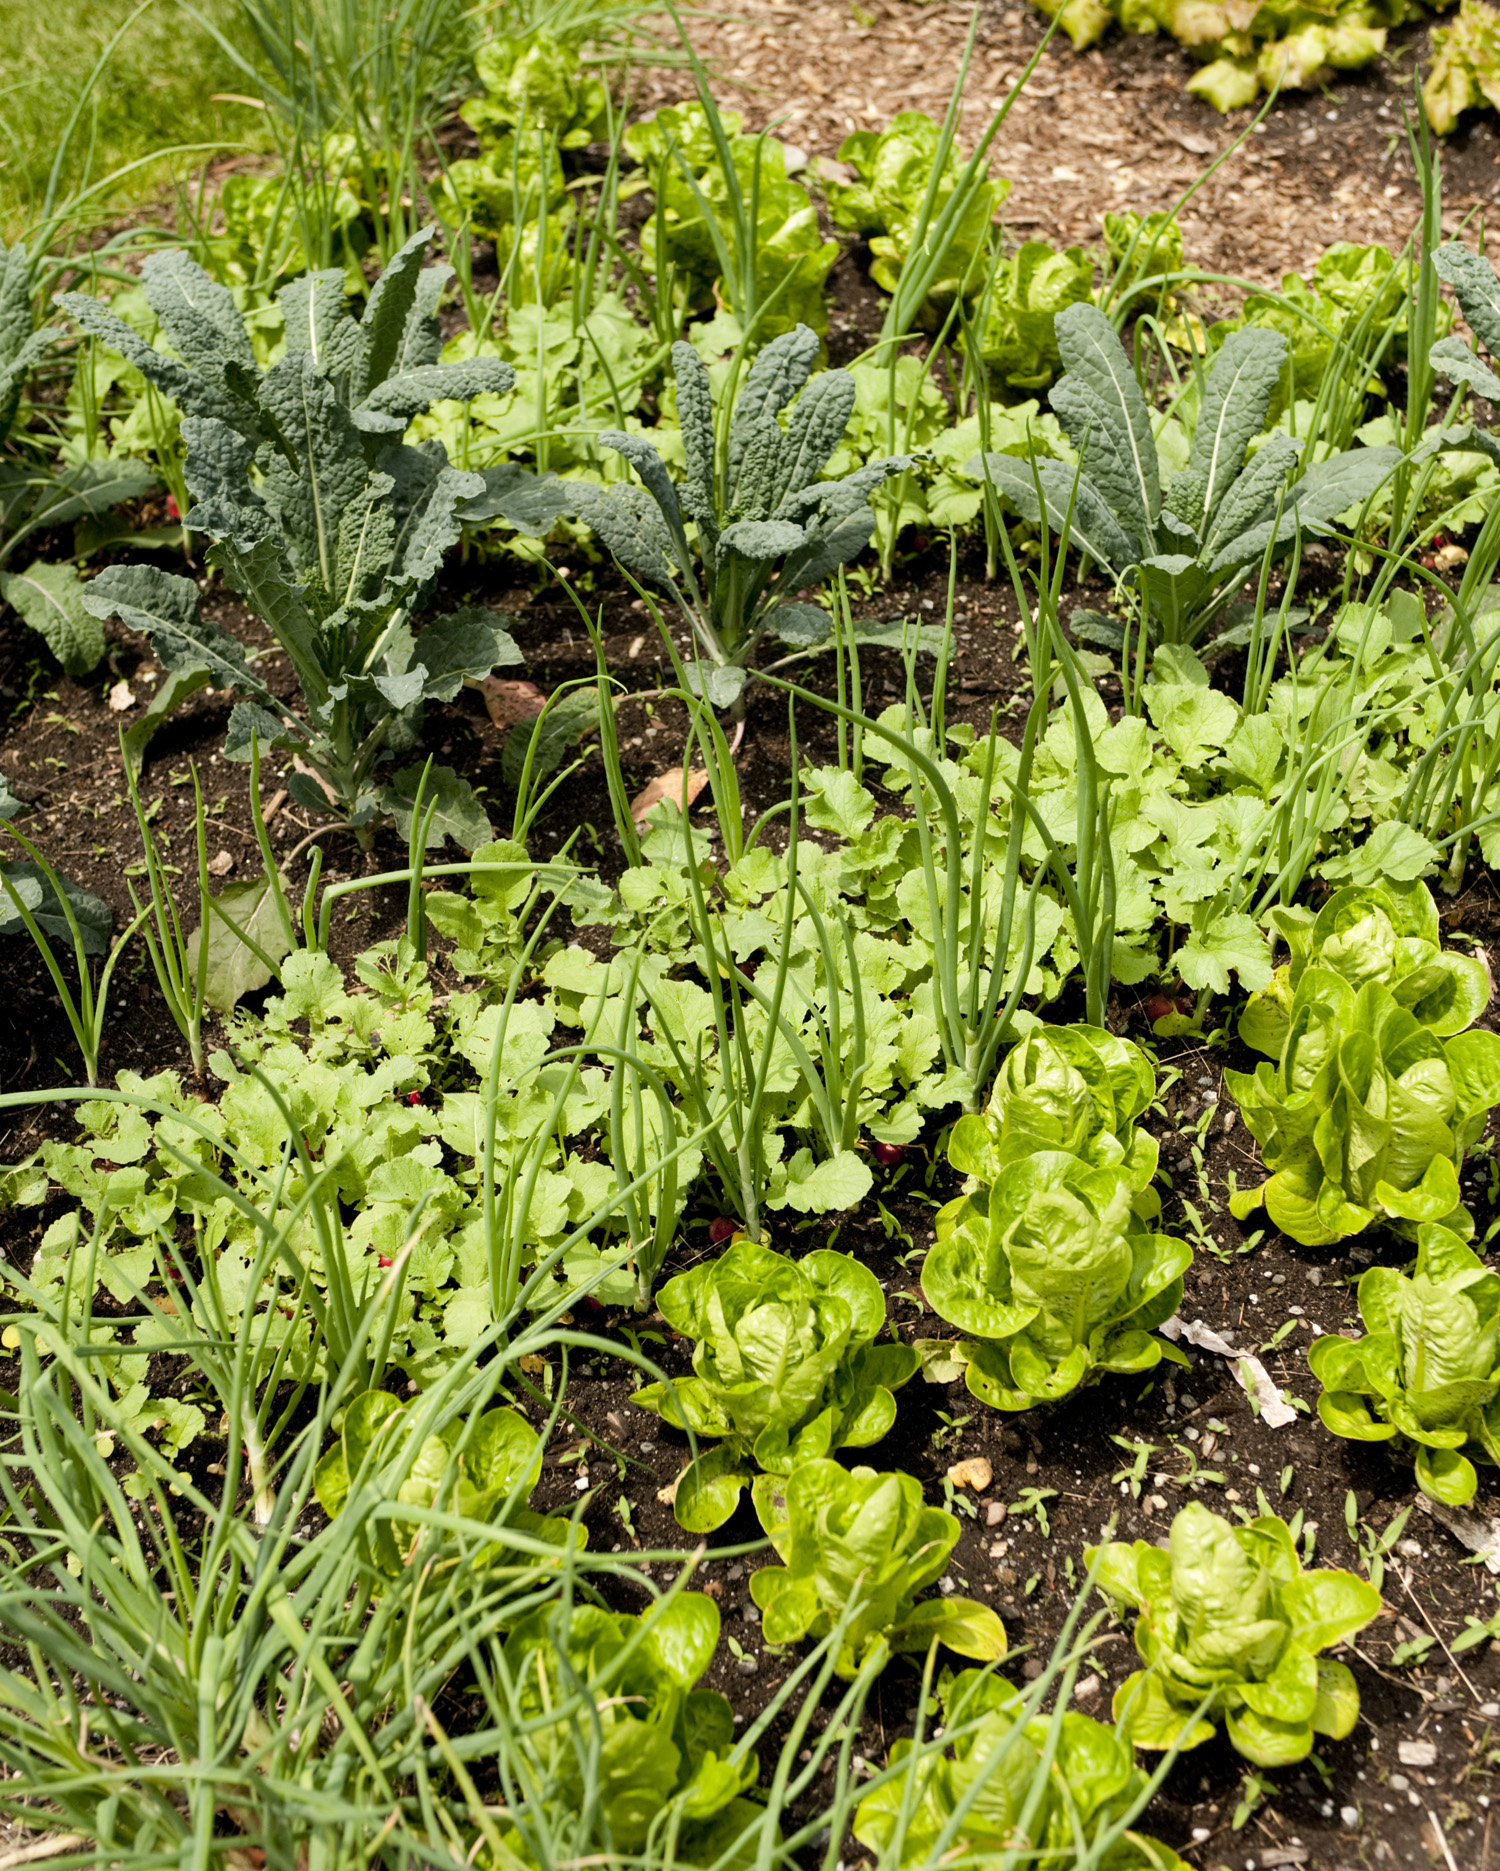
Before you take your soil sample, determine the areas that you would like tested, and remember that you will not be taking just one sample of your garden’s soil unless you are testing a uniform space. The soil in your garden will most likely differ based on location and use. For example, the area near the foundation of your home will be different from the untouched areas near the edge of your property, while the soil from your lawn will differ from the soil in one of your ornamental beds.
Samples can either be taken in the spring or the fall. Make sure not to take them after a heavy rainfall, however, since leaching may alter the results. You should also refrain from taking soil samples close to your compost area, under the drip line of a tree (i.e. at the edge of the canopy), or close to the driveway or street. Use a trowel, shovel, or a soil probe to take your sample, checking to be sure that your tools are rust-free and clean. Lastly, do not use a tool that is made of brass or galvanized metal; these will contaminate your soil samples.
When you are taking a soil sample of one area, it is a good idea to visualize the area as a grid and take between five and 10 samples from different parts of that grid. This is done so that you get a broad sample of the area, and don’t end up testing just one small patch that may not be indicative of the overall space. These samples can then be mixed together to form one sample for the entire area.
Before you set into your task, make sure you clear the ground surface of leaf litter, mulch, grass, or any plant debris; you are only interested in collecting soil in your sample, after all. The samples should each be taken at between 6 and 8 inches deep, clearing off surface debris, digging a small hole, and taking a “slice” of the soil from the side of the hole with your trowel. Just make sure you get all six to eight inches, and you’re not just removing the upper layer of the surface soil.
 Lay the sample out on a newspaper and let it air dry, which will take between 12 hours and several days, depending on how damp the soil is. It is important not to artificially dry the soil, which could alter the results of the test, so you should instead take this to remove any pebbles or debris from your sample. Afterward, place the soil in either a ziplock baggie or a plastic container, marking it with the area of the garden it was taken from–sometimes bags are provided by the laboratory doing the test.
Cooperative extensions and commercial laboratories will provide a form to fill out that lists the information and quantity of soil they’ll need from you. Often they will also ask you to list the places in your garden where you sampled the soil. If you have damaged areas on your property, it is helpful to include a sample from a healthy area if possible. And now that you have soil sampling under your belt, keep an eye out for next week’s update, when we address soil salinity tests and specific soil problems brought about by Sandy.
For those looking to get started with their soil sampling as soon as spring returns, here are a few of the cooperative extensions and laboratories available to those in the northeast area:
The Connecticut Agricultural Experiment Station

The CT Agricultural Experiment Station in New Haven also does soil tests: http://www.ct.gov/caes/cwp/view.asp?a=2836&q=378206