Seed Saving: Simple Steps
Posted in Horticulture on October 7 2014, by Sara Katz
Sara Katz is the Community Horticulturist for Bronx Green-Up, the community garden outreach program of The New York Botanical Garden.
Along with juicy-ugly tomatoes, fresh herbs, and those peppers that made the best hot sauce, gardeners should harvest the seeds from their most prized plants of the growing season. In my Bronx community garden plot, one basil plant is reserved for setting seed, while the others are for eating with Arthur Avenue smoked mozzarella and in-season heirloom tomatoes.
Saving seeds carries on the work of our ancestors, who selected plant varieties using excellent foresight—and their taste buds. An ancient practice dating back to the Stone Age, the first saved seeds were part and parcel in man’s transition from hunter-gatherer to farmer. As plants began to be domesticated, varieties were selected for their flavor, beauty, resilience, and abundance.
Saving seeds continues to be a relevant practice today. A packet of seeds costs considerably less than nursery-grown transplants. Gardeners build self-sufficiency when they choose what to grow, eat, save, and re-sow. And plants become better adapted to their local environment over generations. Plant varieties that can withstand drought or inundation, for example, are important options to have as our climate changes.
Saving seed is also relatively easy and it enhances the closed-loop systems that we should strive to instill in our gardening practices. Here are some simple instructions to get you started:
Seed Considerations
- Heirloom, organic, and open-pollinated seed may be saved.
- Hybrid seed will not produce a next generation that is true to type, so avoid saving seed from hybrid plant varieties.
- Avoid genetically modified (GMO) seed if you are seed saving. Seed companies obtain a patent for developing this type of seed, so saving seed is technically considered infringement on their intellectual property. GMO seed is currently only available to commercial farmers, so you won’t find GMO seed in local garden centers. The debate on GMOs rages on.
- Consider that conventional seed may be treated with fungicide or pesticide. However, as long as it is not a hybrid variety, it is possible to save seed.
Isolation is when you separate one plant from another to prevent crossing. Check the isolation distance and proper measure if you are growing two plant varieties that could cross. Or, take the easy road and just grow one variety at a time. (This could be tough in the city. The isolation distance for mustard greens, for example, is ½ mile!)
Plant Life Cycle
- While some crops will grow and set seed in one season, other plants are biennial, needing two seasons to complete their life cycle.
- Lettuce plants produce seed in about 100 days.
- Kale will need to overwinter, flowering and setting seed the following spring.
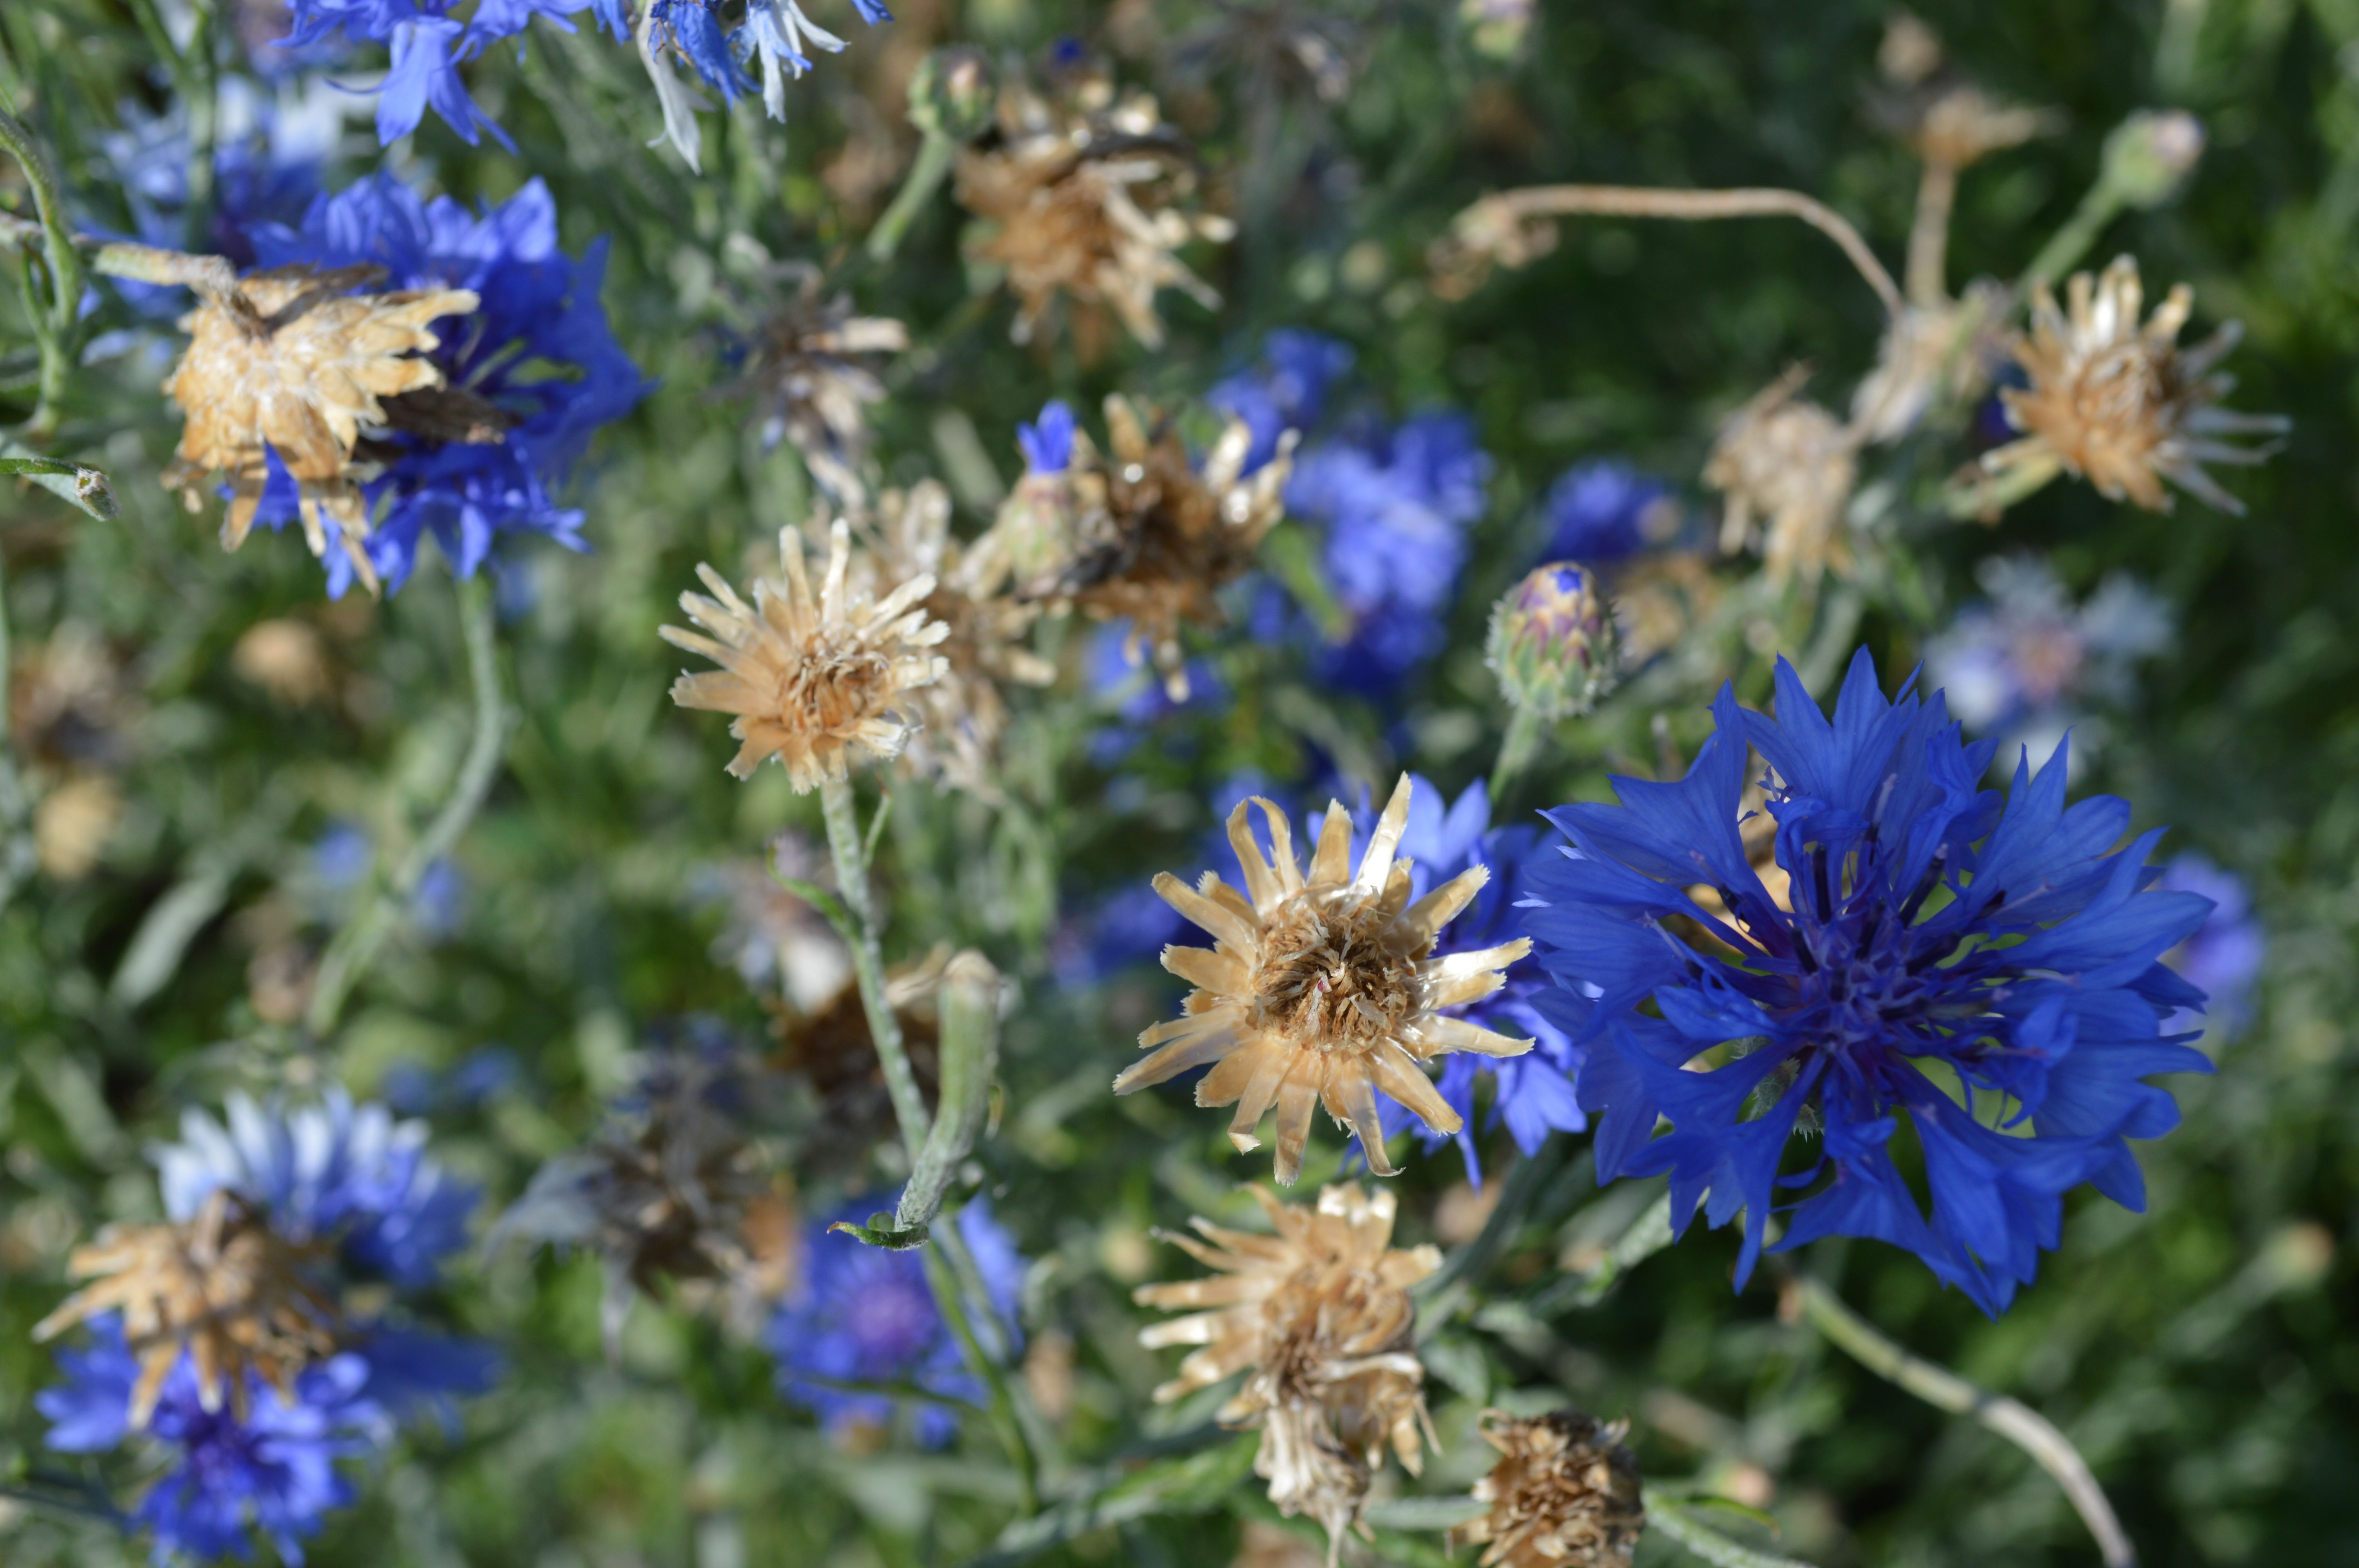
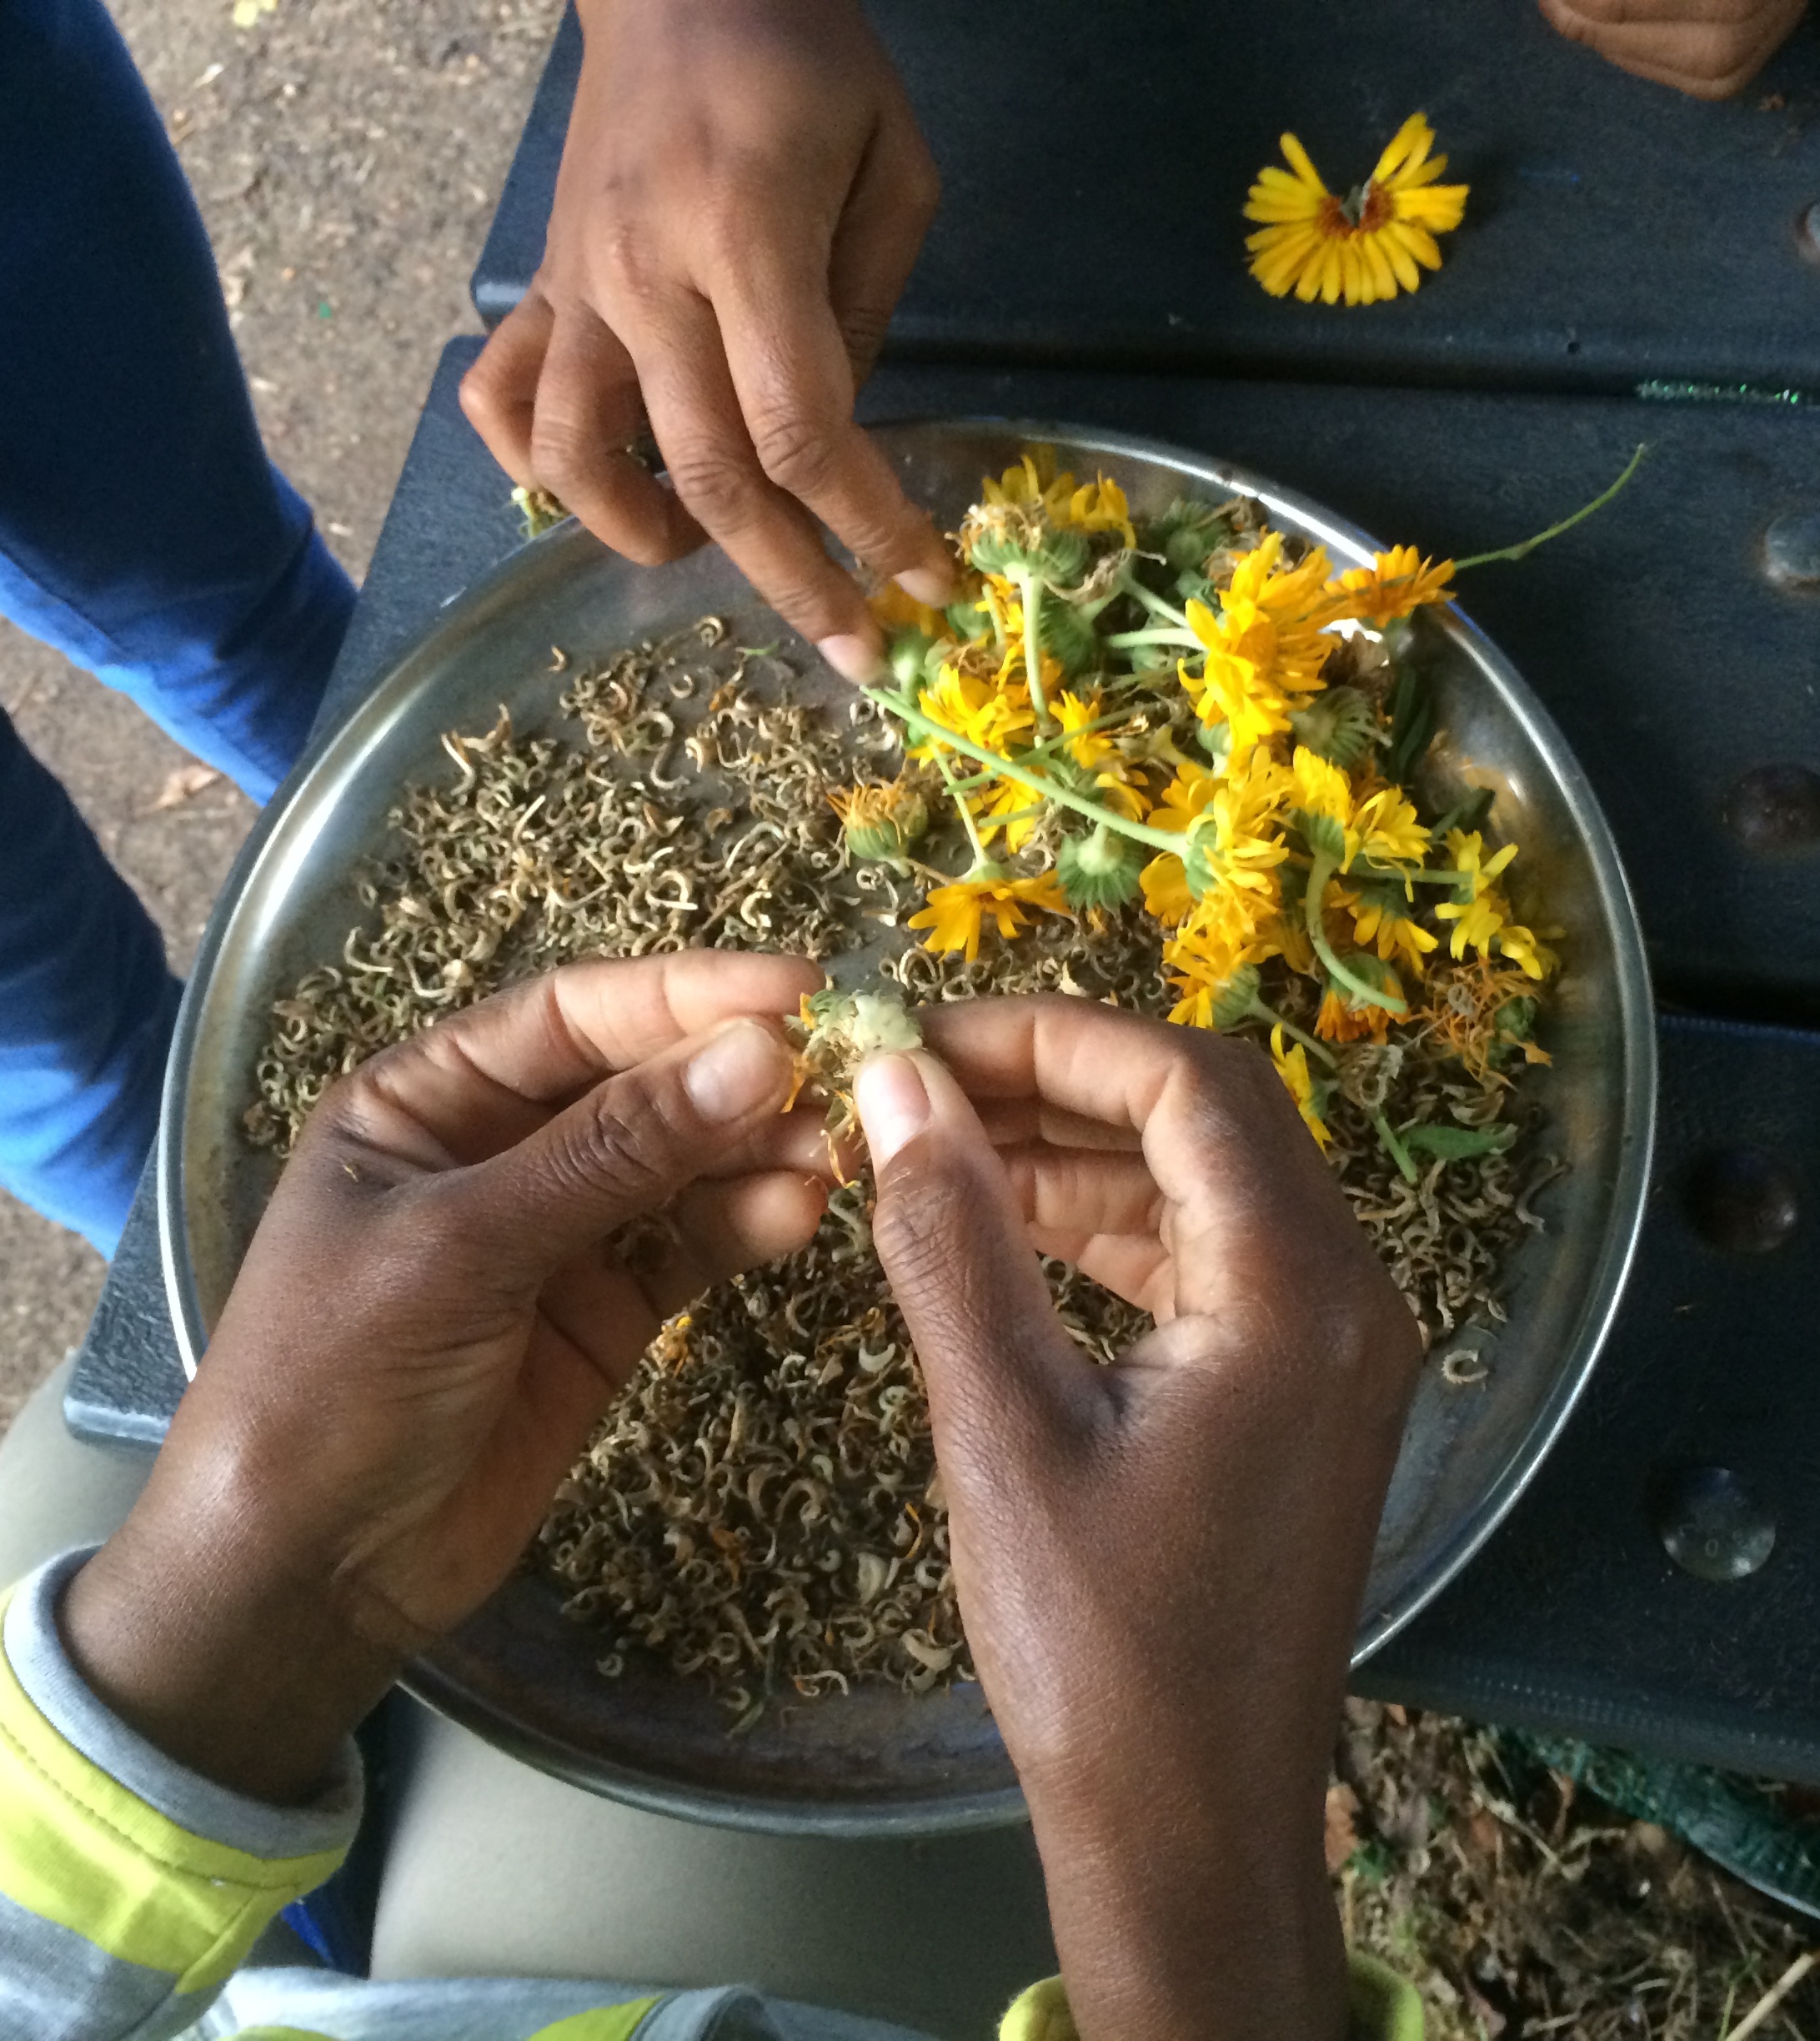
Harvesting Seeds
- Choose the biggest seeds from your plants, as these are most mature and best for saving.
- Seeds embedded in the flesh of fruits and vegetables are usually collected in plastic buckets, deli containers, or bowls. Metal or plastic strainers work well too. Wet seeds will stick to paper, so that material is not recommended.
- Seed pods are best collected in baskets, which allow better air circulation for further drying. Paper bags, onion sacks, and cardboard boxes can also be used.
Three Ways to Clean Seeds
Wet Process:
Used for seeds found in the flesh of fruits or vegetables such as muskmelons, watermelons, squashes, and eggplants
- Cut open the fruit or vegetable and remove the seeds.
- Wash the seeds. Place the seeds with pulp in a large bowl or bucket. Add twice as much water as the seed/pulp mix and stir vigorously. Good, viable seeds are more dense and will sink to the bottom; poor quality seeds tend to float. Pour off the floating seeds and debris and add more water. Repeat the process until only clean seeds are left. Then pour them into a strainer and wash under running water.
- Dry the seeds. Wipe the bottom of the strainer to remove as much moisture as possible. Thinly spread the seeds onto a glass or ceramic dish, cookie sheet, or window screen. Do not dry on paper as the seeds may stick. It is important to dry seeds as quickly as possible, because warm, wet seeds will start to germinate or become moldy. Stir the seeds several times a day to aerate. Damage can occur if the temperature of the seeds rises above 96°F, so never dry seeds in an oven.
Dry Process:
Used for plants that produce seeds in pods or husks such as beans, peas, leeks, and radishes
- Allow the pods to dry on the plant (preferably), and harvest them individually.
- Another option (especially if a frost or heavy rain is imminent) is to pull out the whole plant with its seed pods, and hang the plant to dry. As the plant dies, the seeds continue to mature and gain strength.
- Remove the seeds from their coverings (a process called threshing): Put the seed pods in a burlap sack or pillowcase and shake it so that the pods crack open. For smaller seeds, crack open the pods between two boards, being careful not to rub too hard, which can cause the seeds to split or break.
Fermentation Process:
Similar to the wet process; used for the seeds of fruits and vegetables such as melons, tomatoes, and cucumbers
- Remove the seeds and mix them with enough water to cover by about an inch. It is fine if the seeds and water are mixed with some of the flesh of the fruit or vegetable.
- Allow the seeds to ferment for 1-4 days.
- When a layer of white or gray mold has formed on top of the water—this mold breaks down inhibitors to germination such as the gel sac around tomato seeds—the fermentation is complete. Add more water, swish it around, and pour off the mold and pulp. The viable seeds should sink to the bottom (bad seeds will float).
- Set seeds on a plate or screen to dry thoroughly.
Seed Storage
- After the seeds have dried thoroughly, they must be stored properly—in airtight containers to keep them dry and maintain their vigor (their ability to germinate rapidly and with good resistance to disease).
- Moisture and high temperatures (greater than 96°F) are the enemies of stored seeds. Glass and metal are the only containers completely moisture-proof. Baby food jars (with a good rubber seal) and canning jars work well.
- Store airtight containers in a cool, dark, dry place.
- Label the seeds, including the date, plant variety, and any history you know or wish to remember. Multiple packets of seeds can be put in plastic bags or envelopes, then placed in airtight containers.
- Seeds of all species can be stored for many years with almost no loss of germination and minimal loss of vigor when sealed in an airtight container and frozen. However, the seeds must be dry—moisture expands when frozen and breaks down cell walls.