Sprouts | Age 3–5
Investigate a Sprouting Seed
I can sleep for hundreds of years,
And awaken suddenly with a sip of water while tucked under a warm blanket.
I may be as small as dust or as large as a football.
I give nourishment when eaten and when not eaten.
I might float in the water or the sky.
Though unassuming and easily overlooked, I can house an entire tree!
What am I? A seed!
Seeds are incredible! They contain the potential for a new life in a small package. Even the smallest of seeds contain a baby plant and enough food to grow out of shallow earth and towards the sun! Let’s take a closer look at a seed by sprouting one and then dissecting it! As you do this activity, record what you notice, what you still wonder about what is happening, and what it reminds you of.
What you will need:
- A large, dry seed. Beans work best (e.g. lima, fava, black-eyed pea – if you have access to a variety, you can sprout several to compare.)
- A clear, reusable plastic or silicon bag.
- A damp sponge or paper towel.
- Optional: A magnifying lens or zoom camera lens.
To sprout and investigate your seeds…
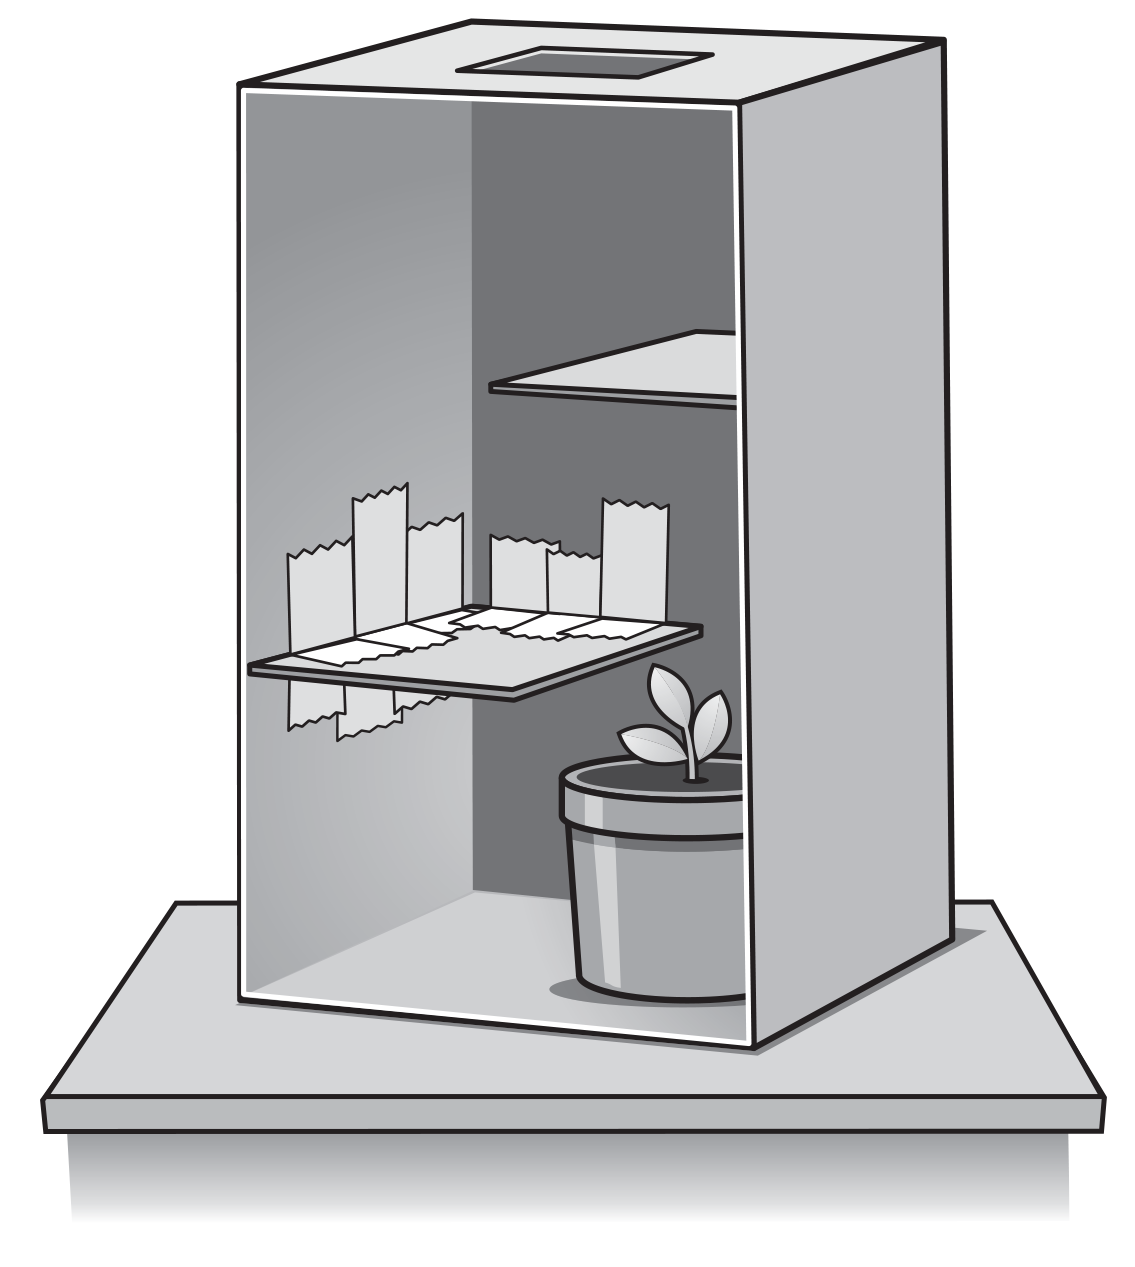
Pre-soak your seed(s) overnight in a bowl of room temperature water. This will help to “wake them up” from dormancy. Why do you think water helps the seed to sprout? The next day, gently press your seeds onto a dampened sponge strip or paper towel and place them (seeds and paper towel) in the center of your reusable plastic/silicone bag. Seal the bag and hang or tape to a sunny window.
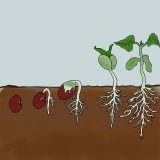
Your seeds should sprout in 1–3 days. Once they begin to sprout, carefully remove your seedling(s) from the bag. Take notice of the emerging plant parts. Do they look like roots, stems, leaves or something else? How has seed changed?
Carefully rub the sprouted seed between your thumb and forefinger to loosen the outside layer. This is called the seed coat. In a bean seed, the seed coat is thin and often translucent. For a cucumber or squash seed, it will be a hard shell. Why do you think the seed coat is important? Once the seed coat has been peeled off, observe it up close or under a magnifying lens. If you don’t have a hand lens, you can zoom in with a camera and take a picture.
Under the seed coat you’ll find the cotyledon, or “seed leaves.” Most fruits and vegetables that we eat are considered dicots because their seeds contain two cotyledon leaves. In dicots, the cotyledons contain food storage to help the germinating seedlings grow out of the soil and towards the sun. This food storage is called endosperm. In monocots, such as corn, the endosperm is separate from the single cotyledon leaf. What does a plant need to make energy? So, why do you think the buried seed needs stored energy?
Next, locate the parts of the germinating embryo. If your cotyledon has not split open yet, you may have to gently pull them apart. The embryonic root is called the radicle. The shoot holding the cotyledon, or seed leaves, is called the plumule. The radicle is the first plant part to grow out of the seed. It helps to anchor the seedling in soil and drink water. Then the plumule will break out of the seed coat, carrying the cotyledon upward. If you have one at home, look for these parts with a magnifying lens or take a zoomed-in photo.
How far along is your germinating seed? Has the plumule emerged yet? If so, which shape did it make? The shoot of a seedling curls out as it grows, forming a hypocotyl arch.* The hypocotyl arch gives the shoot strength and stability as it pushes through the soil, just like the curved arch of a bridge or rounded doorway. Now that you have completed your seed dissection, trace or draw what you saw and label the parts with the help of a parent!
If your radicle, plumule, and cotyledon are still intact and connected, you can even transplant your seedling into some soil. Otherwise, try giving your other seeds more time to grow, and once the cotyledon leaves are open and turning green, transplant your seedling into a pot or garden bed.
*Optional Penny Test Extension: You can start your seed in moist soil and test out the strength of the hypocotyl arch by placing a penny over the planted seed. Wonder out loud about the seedling’s strength and hypothesize if it will be able to push past the penny!
Resources:
Books:
- A Seed is Sleepy by Dianna Hutts Aston and Sylvia Long
- What’s This? by Caroline Mockford
- Plant the Tiny Seed
- Plants Can’t Sit Still
Educational Videos:
Printables:


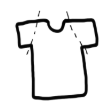
 First, decorate your shirt as you please using washable markers, ink pads and stamps, paints, or with embroidery.